
Zencare Practice Management’s Video Therapy feature has been updated to improve the everyday user experience. The same features and functions remain, but the layout has been redesigned for clarity and ease of use. Keep reading to learn more about the changes we’ve made!
When you want to join a Video Session you need to input your name and click the Begin button. You’ll still be prompted to do this, as well as confirm that your microphone and camera preferences are set to your liking before entering the session.

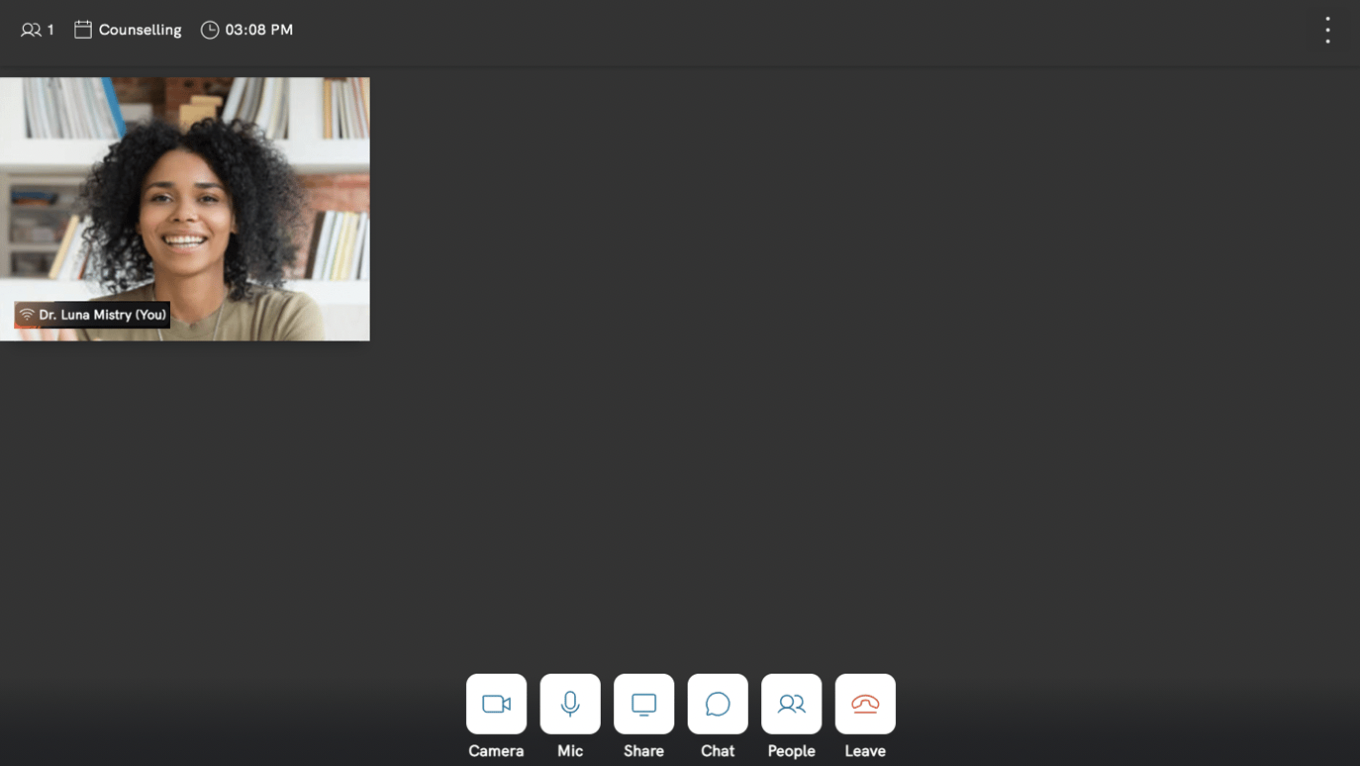
You will see that your mirror has been moved to the top left corner of the screen. You can drag and drop it as needed to place it anywhere on the screen you‘d like to put it. The indicator for your connection strength is now visible directly beside your name from within the mirror. Your client(s) will still appear in the center of the screen.
Using your Toolbar:
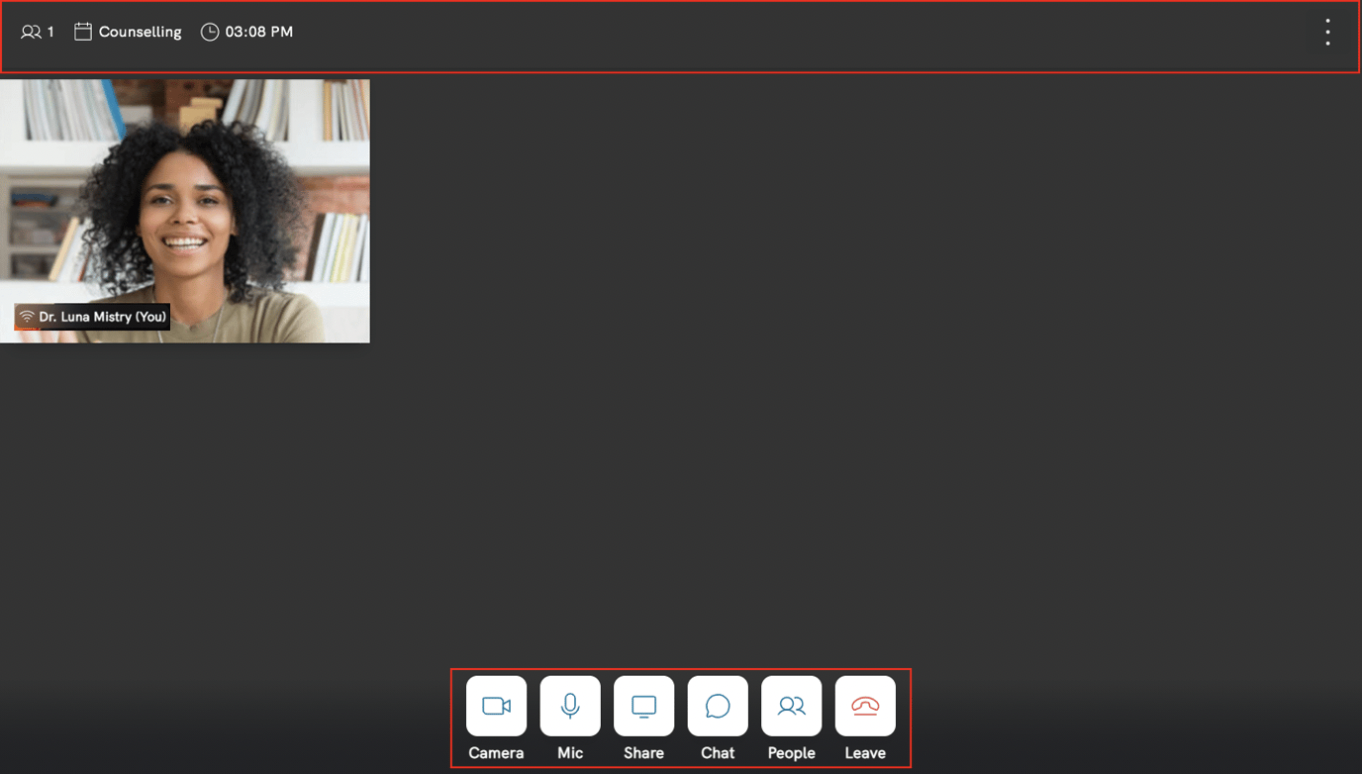
A new Toolbar has been added, it’s located at the top of your screen so you can easily keep track of the time, what type of service you are providing, and the number of participants invited to the session.
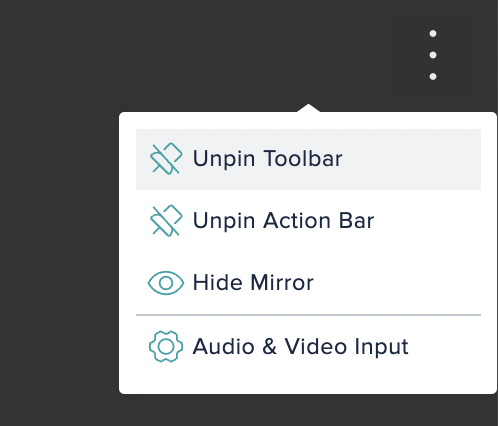
On the far right of the toolbar, you’ll see a clickable menu indicated by three vertical dots. When selected, this menu will expand to show you several different options.

At any time during the session, you will have the option to hide the toolbar from view if you don’t want to have it locked to the top of the video call. Simply click on the three dots and select Unpin Toolbar. Doing so will unpin the toolbar from the top of your screen. It can still be easily viewed and reopened when you hover your cursor up at the top of the screen.
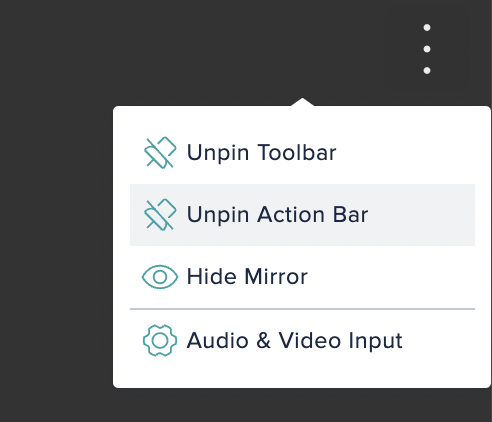
Similarly, you now have the option of hiding the Action Bar at any time during the session by selecting the Unpin Action Bar. This will unpin the Action Bar from the bottom of your screen. It can still be easily viewed when you hover your cursor near the bottom of your screen.
If at any time you do not want to see your own image onscreen during the session, you can use the Hide Mirror option to remove it from your view.

Lastly, you can manage your mic and camera configuration at any time by selecting the Audio & Video Input option.

Selecting this option will open a pop-up window with video and audio options that you can change as needed to ensure you have the correct setup for the call. For therapists who have multiple audio or video devices (for example, you may use wireless earbuds, a USB microphone, or an external webcam), you can now save your device selection preferences as well.

Using your Action Bar:
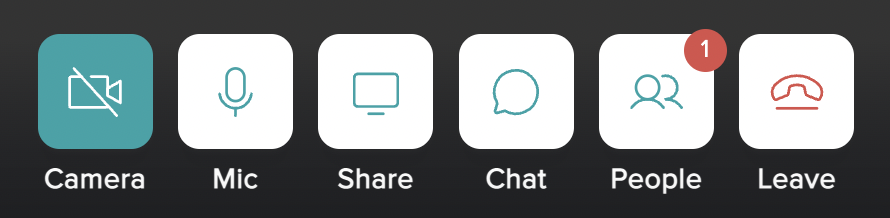
All of the original functionality in the action bar remains, we’ve simply made a few changes to the look and feel of this area to enhance the user experience.
When a client joins in a session, you can now select the People icon to admit them into the session from the virtual waiting room.
The Admit option appears to the far right of a client’s name when they have successfully arrived in the waiting room. If a session has multiple participants, you can admit each attendee into the call one by one by clicking the Admit button next to their name. Alternatively, you can click the Start Session button to admit everyone to the session at the same time. You also have the option to Mute All participants from this window.
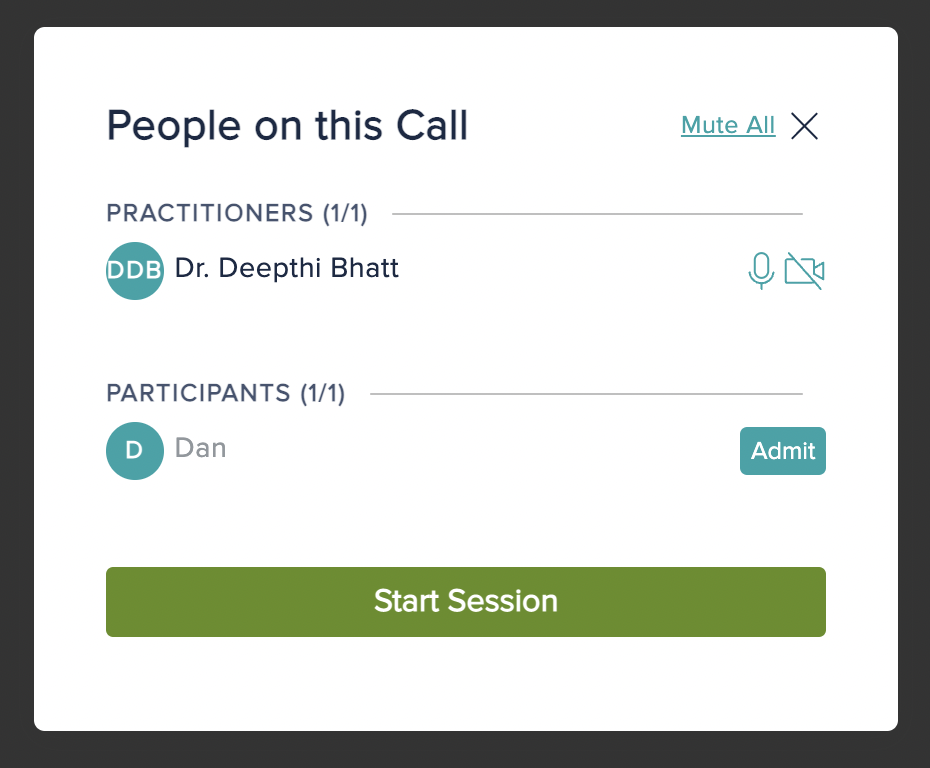
If you have selected the Mute All button, you will need to click back in to the People icon and select Unmute All to allow participants control of their microphones once again.