
Once a session is completed, you'll need to add a note to the session to keep track of your history with that client.
Opening a Session Note
To give you the most flexible workflow, there are three different places in Zencare Practice Management where you can write your session notes:
- The Calendar
- The Client Account
- The Workflow
To open and work on a session note from the Calendar:
- From the Calendar click on the scheduled session.
- This opens a Session Overview window.
- Click on Create Note.
- Write the note directly into the Note Editor window that pops up. You can format it using any of the options in the top bar.
- When you are done with your note click Sign to add your therapist signature in.
- Press Save or Save and Close to save your work!
To open a session note from the Client Account:
- Head to the Client Account.
- Open the Sessions tab.
- This will display a full list of sessions the client has been scheduled for.
- Click on the blue Create Note button next to the session for which you are writing the note, this button will be on the far right of your screen.
- When you are done with your note click Sign to add your therapist signature in.
- Press Save or Save & Close to save your work!
To open a session note from the Workflow:
- Head to the Workflow.
- In the left management bar, click Notes.
- Here, you will see a list of every note up until today that has not yet been signed .
- Click on the blue Create Note button next to the session for which you are writing the note.
- When you are done with your note click Sign to add your therapist signature in.
- Press Save or Save & Close to save your work.
- As soon as you sign a note, it will disappear from this list.
Using the Notes Editor
The Notes Editor is a word processor-style editor - you can type in your note like you would on Microsoft Word. You can include tables, links, and lists as you require.
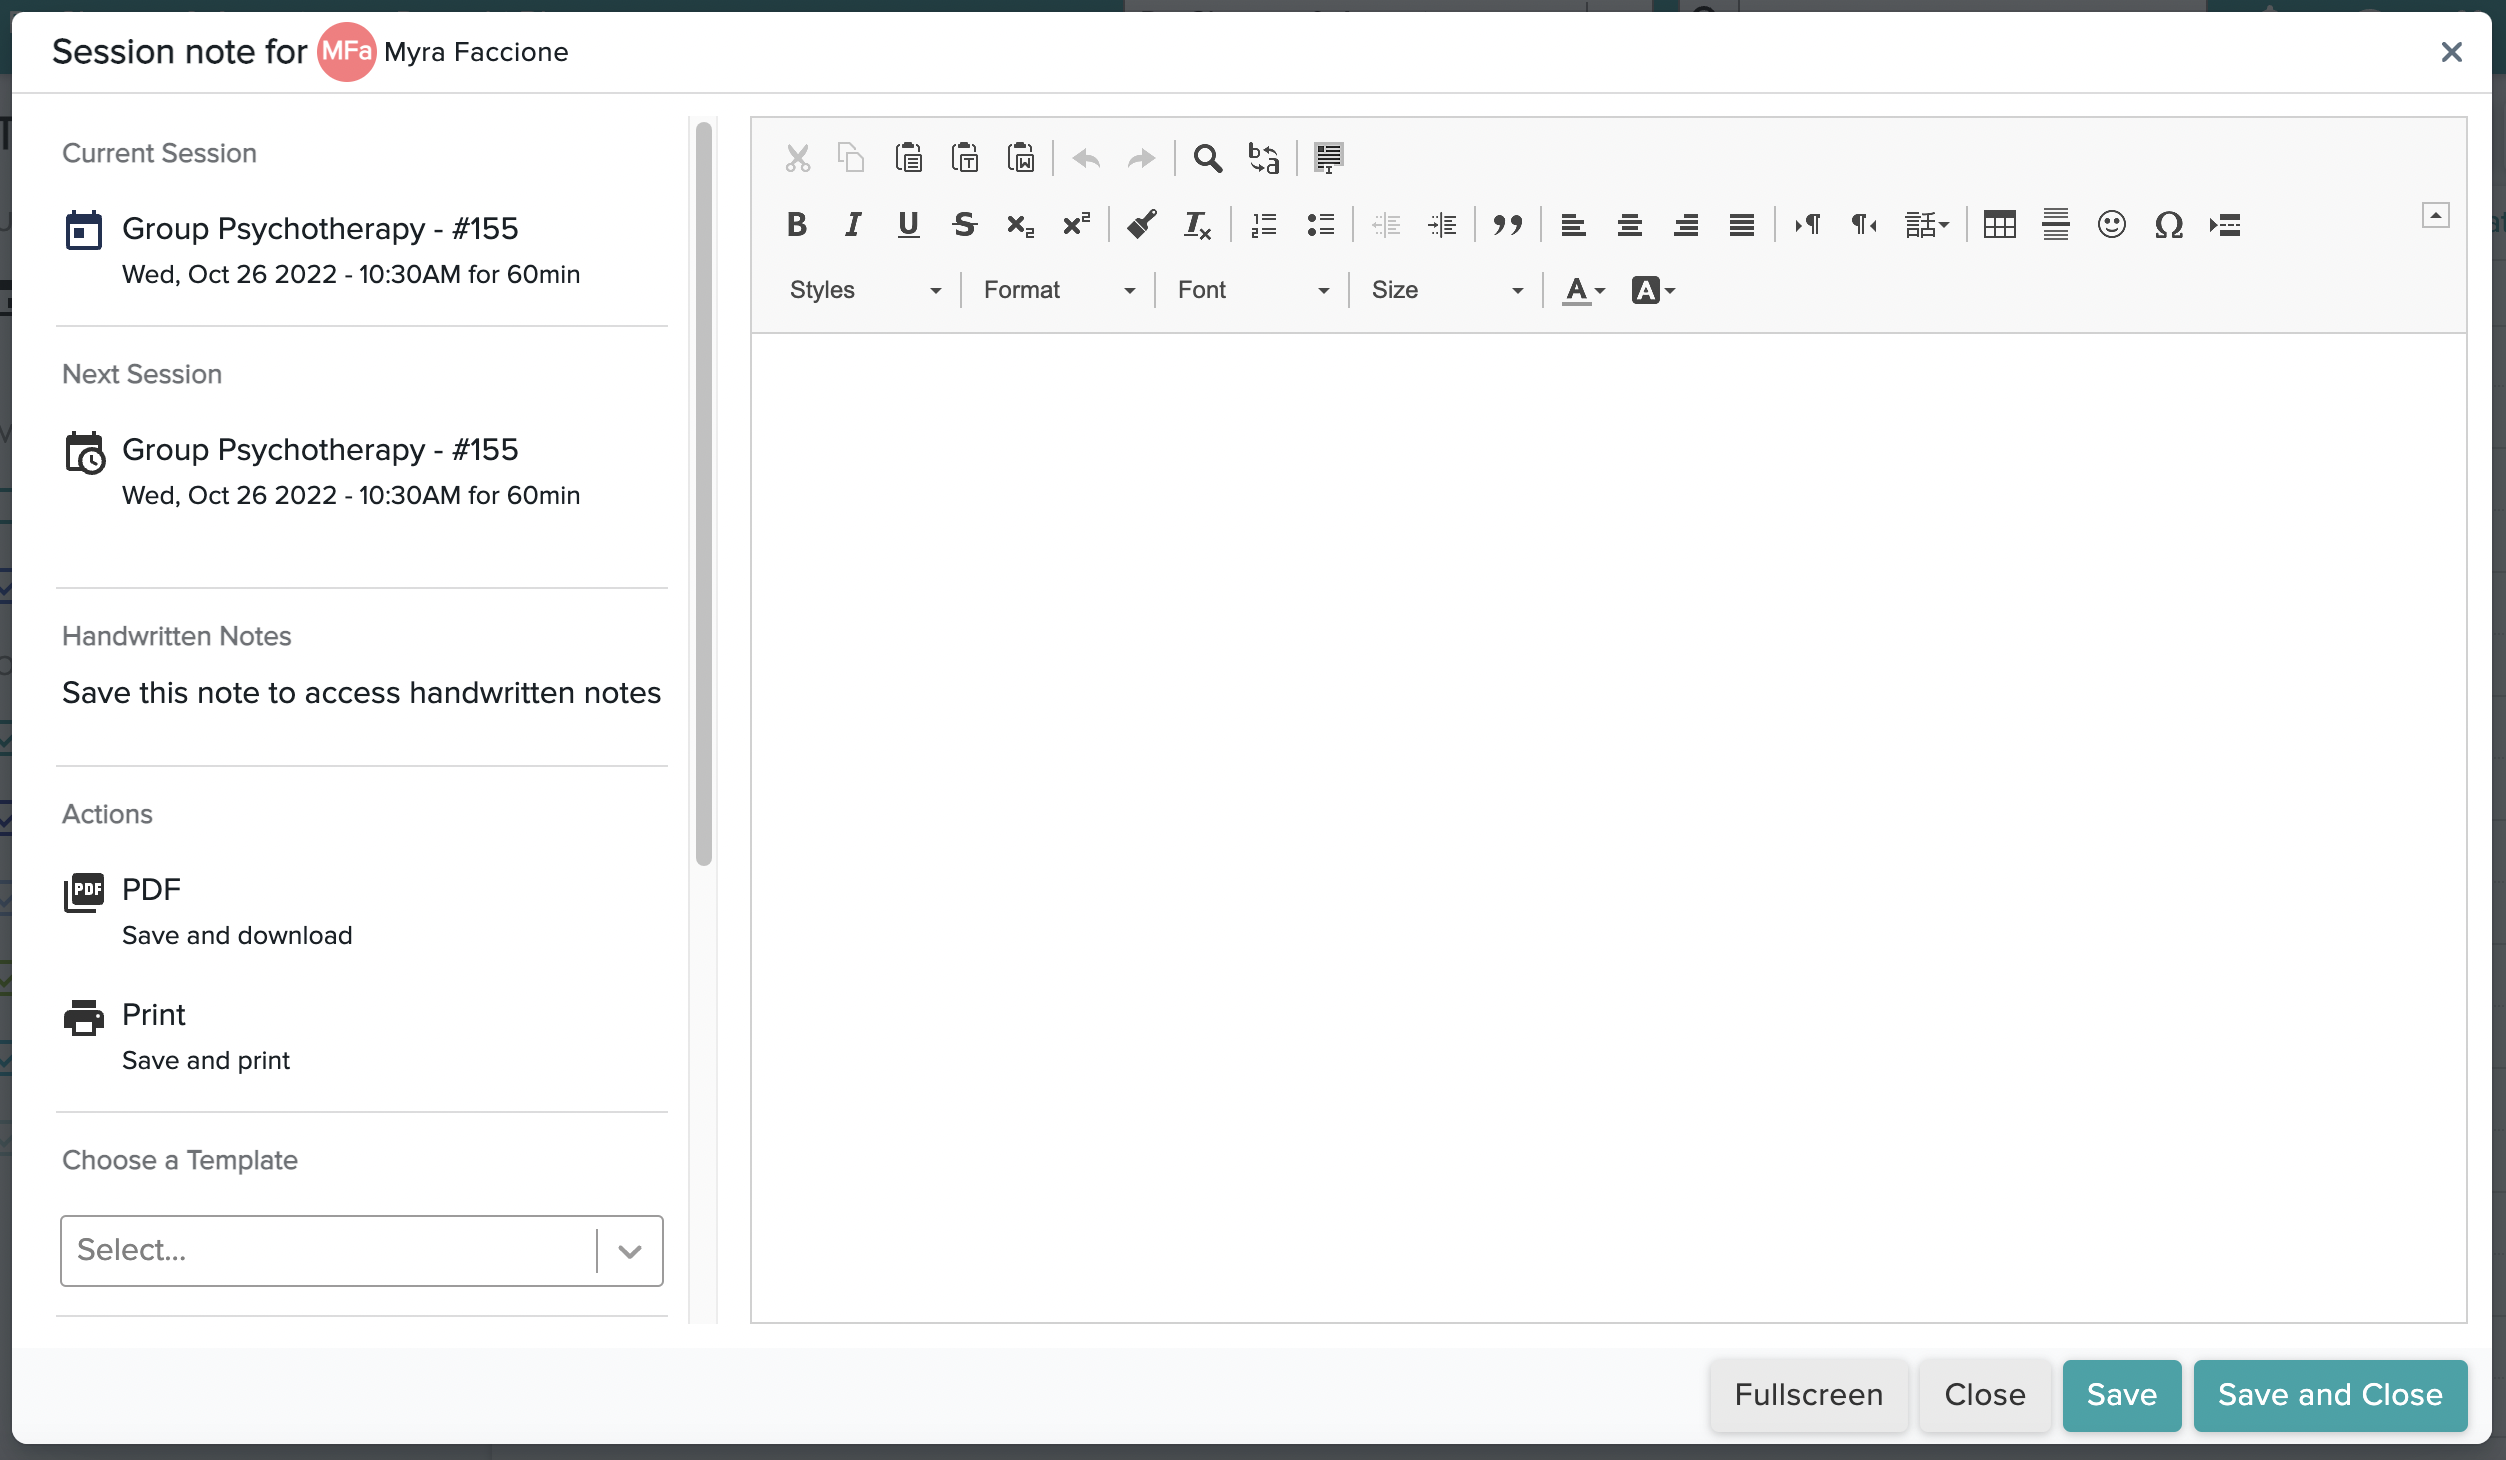
Along the left side are controls for the session and note.

If you have any configured, you can select a template from the drop-down list for easy access to any variety of notes formats.
When you are done writing your Note, click Save.
Once you start typing, your notes will also Auto-Save once every minute. Zencare Practice Management will automatically save any changes to our system, ensuring that as you write, your notes will be saved. In addition, we will retain a complete history of the changes you've made to your Notes! You can access them at any time from within the Note editor by using the Revisions pulldown. You cannot toggle to view past revisions until a note is signed, or you will “overwrite” the current version.
Once a Note has data present, the button will change to See Note If you have saved a Note, and you are ready to sign it, you can click on this button to re-enter the Notes editor. You will now see a Signature option below the Comments box on the controls panel.
Press Sign to add your digital signature, therapist information, and a date and time stamp. Signing the note will “Lock it in,” meaning no changes can be made unless you “Unsign” the note.
Once a note is signed, it will be removed from your Notes tab in the Workflow.
Creating and Using Notes Templates
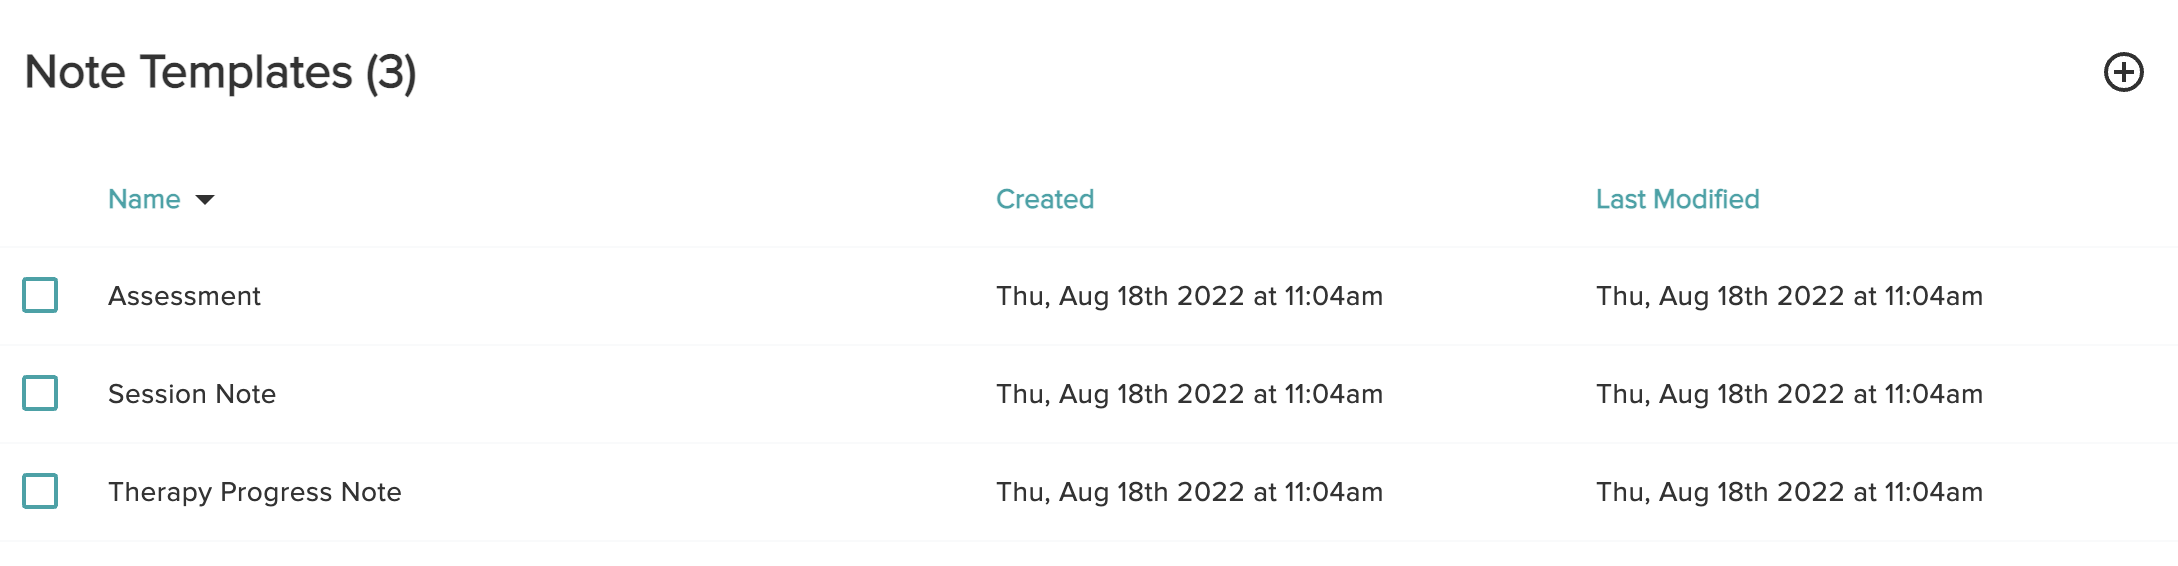
Note Templates are formatted documents created by you for commonly-used notes. This means you can easily access any number of different layouts for a wide variety of sessions. They can be added to a note while you are in the Notes Editor window.
There will be three default note templates already in this area - feel free to Edit, Delete or rename these however you'd like - there are many different types of therapists using Zencare Practice Management, and everyone has a slightly different preference for writing notes! You can also add as many new templates as you'd like.
To create a Note Template:
- Head to Settings.
- Open Notes.
- You will see a list of all the templates that are currently available.
- From here, you can modify existing templates, delete unused ones, or create a new one.
- To create a new template, click the plus icon. The Notes Template editor looks exactly the same as the Notes Editor.
- Name your template, type in the content, and click Save. The template will now be available when editing notes.
To use a Note Template:
- In the Notes Editor, use the Template drop down menu and select the template you want to use.
- Remember, if you have already written content into your note the template will override the content.
Using the Client’s Most Recent Note Template
Under the Template dropdown, you will notice that there is an option to use the Client’s most recent note as a “template.” This allows you to import the last written note to your current note. This can be used if you prefer to use “continuous scrolling” notes.

Zencare Practice Management will only allow you to use only one template at a time, meaning if you use this option you will not be able to use your other templates.
Adding Additional Documents to a Session Note
If you have a document of any sort that must be associated to a specific session, head to the Note for that particular session. On the left-hand control panel, you will see an Associated Files section at the bottom.
To upload a new file to the session, click Upload and find the file on your hard drive.
To associate an existing file to that session, you should first make sure that the file is uploaded to the client's account. If files exist, you'll be able to select it from the pull down menu.
Once associated, this file will be available from the note, and the note will be available next to the file in the Documents tab.
Notes Signatures and Signing Your Notes
Notes Signatures allows you to create notes with a high level of accountability. By signing, you are stating "the note is complete" and locking the note down from any further accidental edits - the only way to change a signed note would be to unsign it.